
This is subtly titled as a brag post, because I’m so proud of my sister, Bekah, for publishing her first book!
Last fall she rescued a kitten from a shelter. In the following months, she began to tell my daughter stories about her kitten’s thoughts and daily experiences, all from the perspective of a cat. Even though I don’t like cats, I loved these stories and looked forward to them just as much as my ten-year-old.
Bekah got laid off from her job mid-March, due to COVID-19, and a week later she sent me the first draft of her book. She was DOING THE THING!
Since I thought this might be helpful to some of you, I'm sharing the tools and the process that my sister and I used to publish her first book.
BOOK WRITING AND SELF PUBLISHING TOOLS
Google Docs.
My sister wrote her book in Google Docs and then she used the sharing feature to share the doc with others to get feedback.Grammarly.
In addition to our own brains, we used the tool Grammarly for editing. I'm sure my sister’s book would have benefited from a professional edit but that simply wasn't in the budget.
Adobe Illustrator and Photoshop
To create the book cover design, I used Adobe Illustrator, but you can also use Canva or Photoshoot to design a book cover. I've helped several authors polish up their book cover designs in Canva for a small fee, so they can do most of the work themselves and save money.
To turn Bekah's pencil and pen drawings on paper into digital art, I used Photoshop and Illustrator. I'm not sure what inexpensive tool you can use for this, but it was a really cool process to see her drawings come to life.
BONUS TIP: If you have illustrations you want to turn into digital drawings but you’re not comfortable using Photoshop or Adobe Illustrator, you could also use a service like Fiver to find someone who will do it inexpensively. Just remember that when it comes to graphic design, you get what you pay for.Adobe Indesign.
I used Adobe Indesign to format the interior pages, but you can also use Canva or Microsoft Word for this.
The most important thing to know BEFORE you start designing and formatting your book is to KNOW THE FINAL SIZE. Otherwise, you will have to start all over and reformat the entire book.... that takes hours, sometimes days. Don’t ask me how I know this. You can find a list of Amazon’s self published book sizes here.Media Modifier
I created mockups of Bekah’s book with a brilliant mockup tool called Media Modifier. It’s inexpensive to pay for their monthly subscription and much faster than using Photoshop to create a mockup. Bekah used the mockup photos to get feedback on her book cover design, as well as using them to promote her book for pre-order sales.Square.
Bekah created a free page on Square to start selling preorders of her book in June. She sold over 50 copies of her book, which helped her pay for the printing costs for the first batch of books.Printing the Pre-Orders at a Local Printing Company
Originally, Bekah wanted her book to be printed in a square size, in full color. She pictured a beautiful book that could be on display as a nice coffee table book. Both of us died when we saw the first printing quote from a local printing company. Her book in full color, in a square format, was going to cost over $20 per book to print. Preorders had been selling for only $10.99. That's a little bit of a cost miscalculation! We had no idea full-color printing cost so much!
Bekah had to adjust her expectations. I went to work to reformat her book and switch all of her beautiful, colorful illustrations to black and white. That allowed her to afford the cost of printing the books locally, and the final result was still beautiful.Amazon KDP.
Bekah created an Amazon account since she didn't already have one, and then she created a KDP account. It was free to create an account, and simpler than she thought it would be to link her banking information to KDP.
Once her KDP account was set up, we uploaded her interior manuscript file and cover file. I had to make a few changes and then it was cleared for approval. The easiest part out of all this was getting her book on Amazon. We both thought that was going to be the most complicated part, but it wasn’t! What a relief.
If she had everything to do over, I think my sister would choose to publish directly to KDP instead of creating a site to get pre-orders. A lot of experts discourage pre-orders unless you’re a famous person, and having seen my sister’s process I would now have to agree. Getting a book published on Amazon KDP is the simplest way to go.
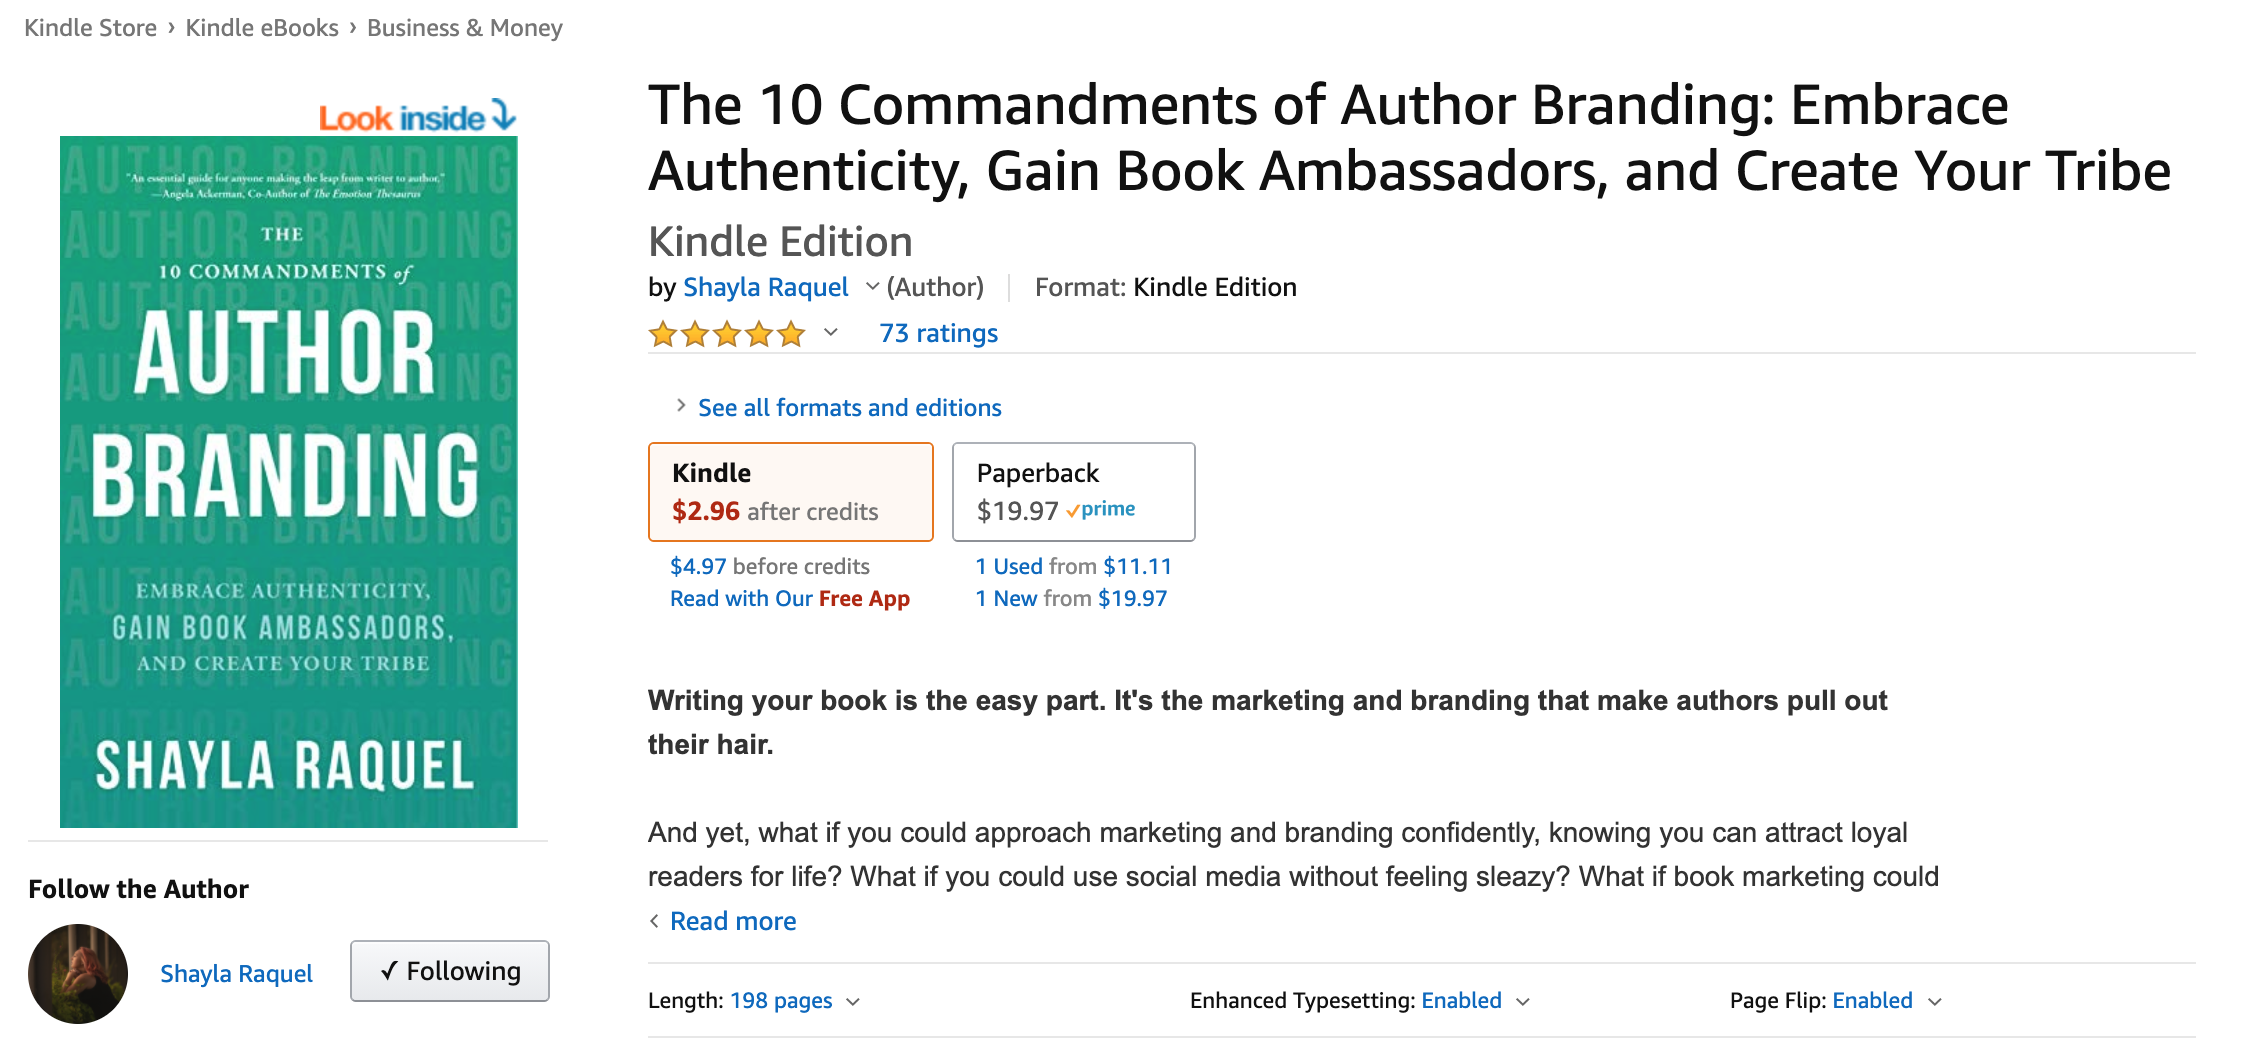
I’m not an expert on self-publishing. In fact, helping my sister with her book showed me how much I still have to learn! To learn more about self-publishing, check out this book on Self Publishing by my friend Shayla. It’s far more extensive and knowledgable than this post. Shayla’s book is basically the bible on Self Publishing, with tried and true strategies to market your book as well.
I hope this post inspires you to publish you own book. If you need a cheerleader, I’m here to be your biggest cheerleader! Just go for it!
